In this post, I will explain a step-by-step installation and configuration for TFS 2012 Update 3 (TFS 2012.3)
- Download the TFS with Update 3
- Download Agents for Visual Studio 2012 Update 3
- Download Visual Studio 2012 Update 3
- More info about Update 3
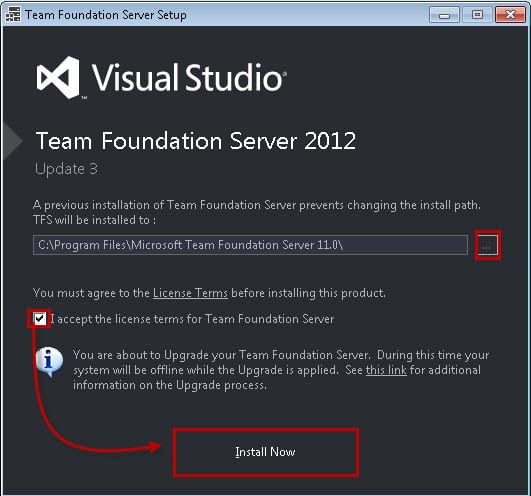
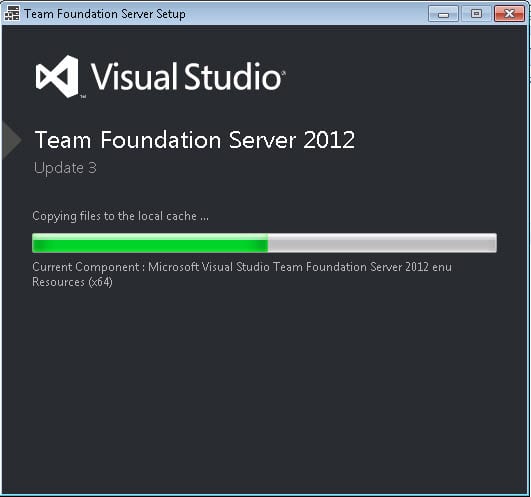
Insert the VS2012.3 TFS Server ENU media in your machine and click on tfs_server.exe. Notice that you can’t change the path since it detects the previous installation (TFS 2012.2).
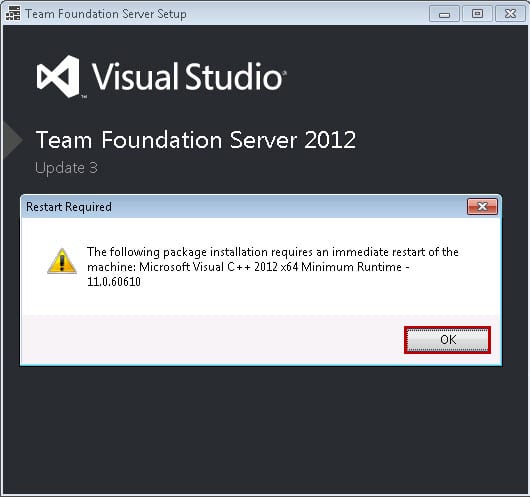
The machine will need to restart. Click on OK to restart.
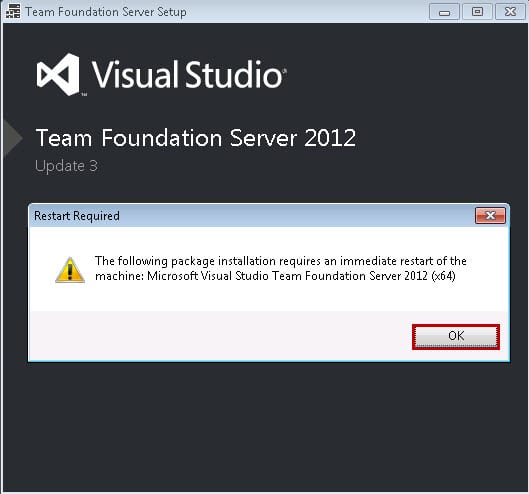
Another restart needed.
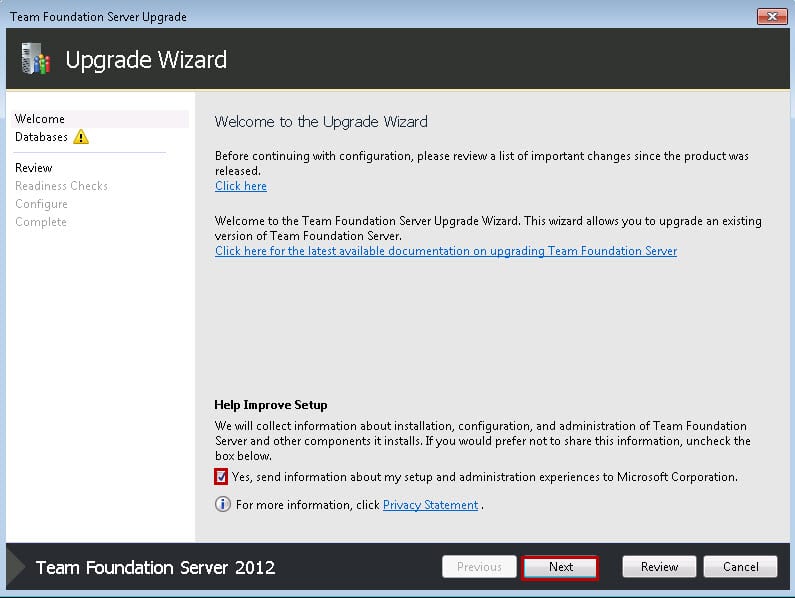
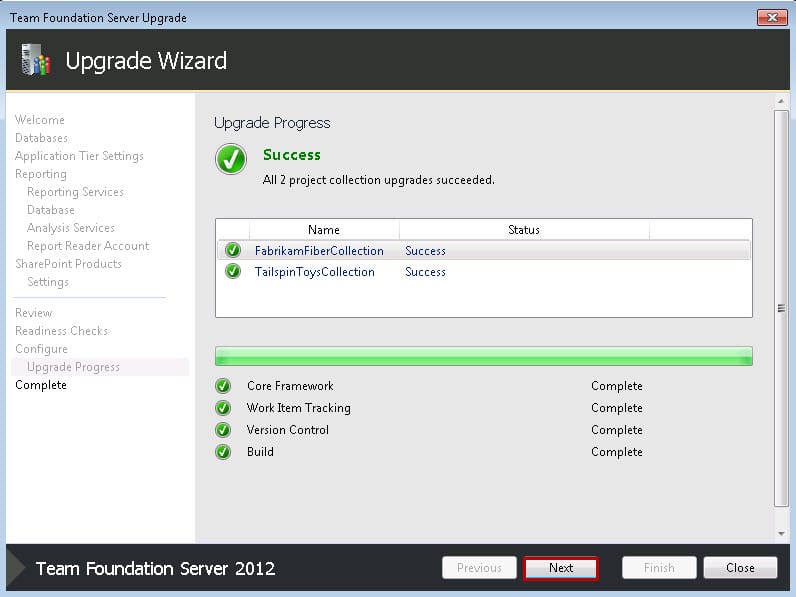
After installation completes, notice that the configuration shows an upgrade wizard since it detects the previous version of TFS (TFS 2012.2).
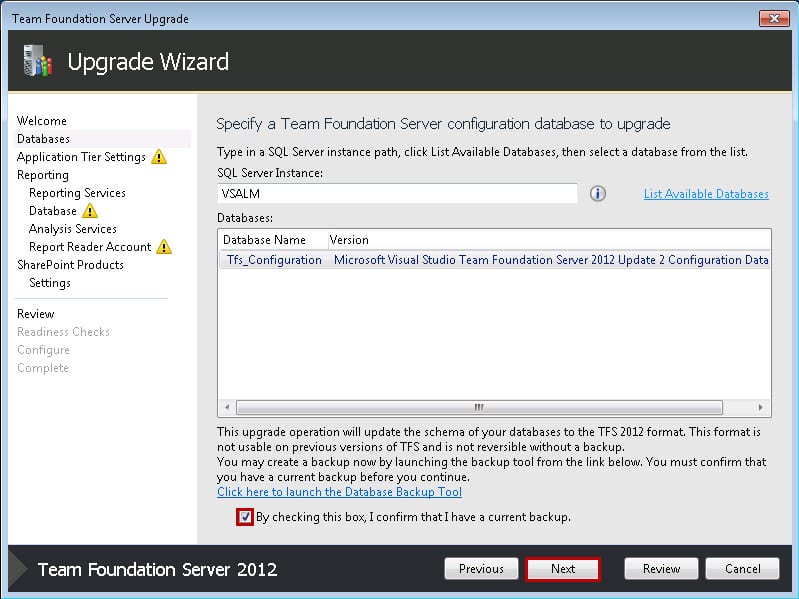
The configuration detects the DB. Click on the confirmation of the DB backup. This is very important because if the TFS update installation fails, you will be unable to restart the update or roll back to the earlier version of TFS without performing a restore procedure. Click on Next.
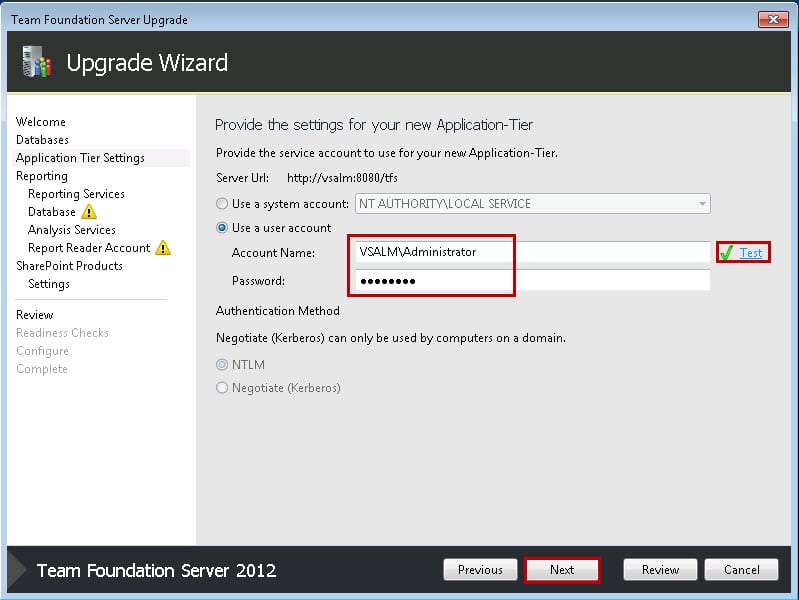
Enter the TFS Service account and its password and click test to verify that they are correct.
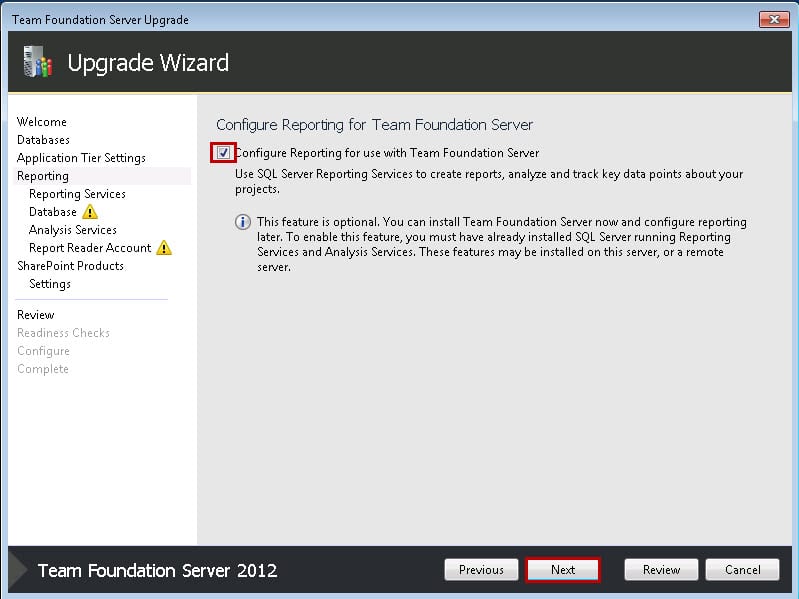
Click on Configure Reporting to configure SSRS for TFS and then click Next.
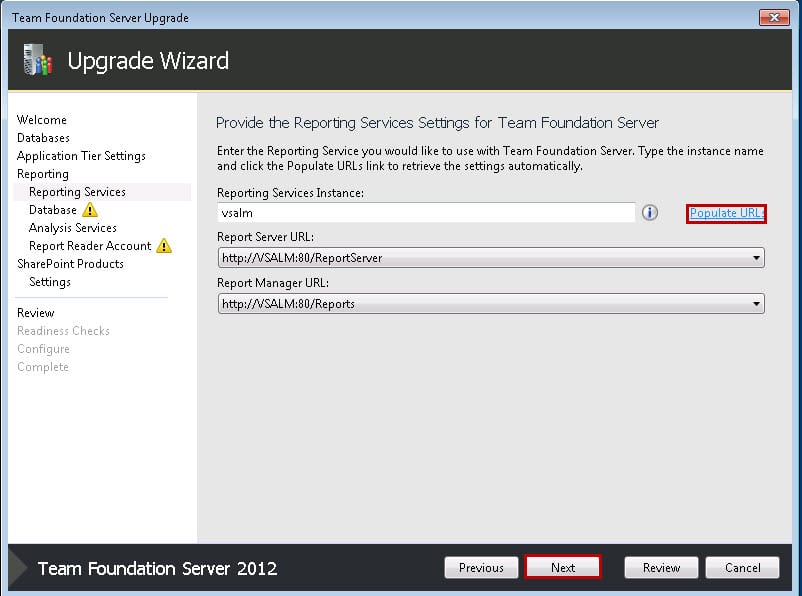
Click Populate URLs and then click Next.
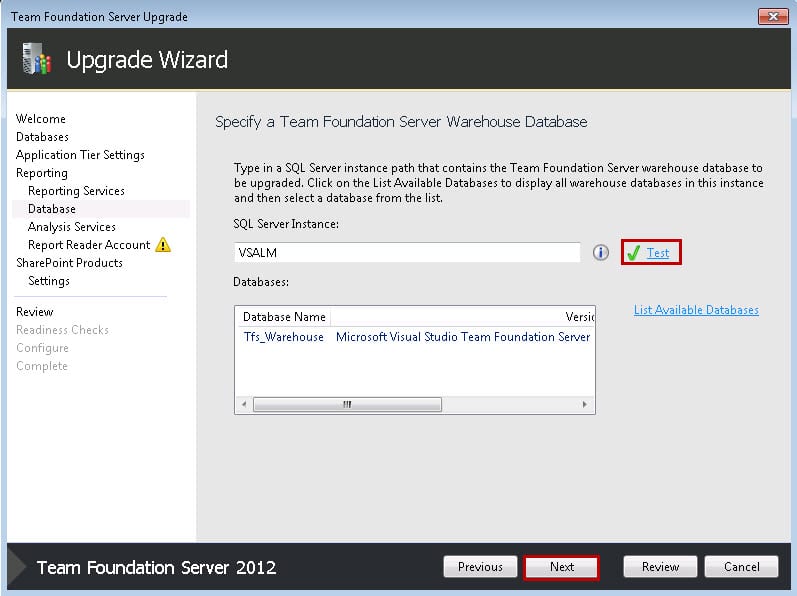
In Specify a TFS Warehouse DB, specify the machine that has the warehouse and click test and then click Next.
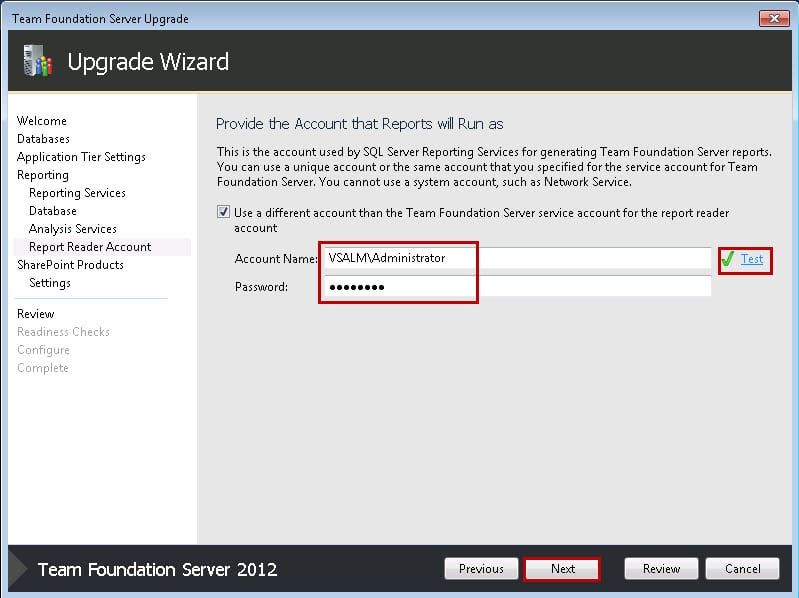
You can choose to use the same account for the TFS Service or enter a separate account (TFSReports).
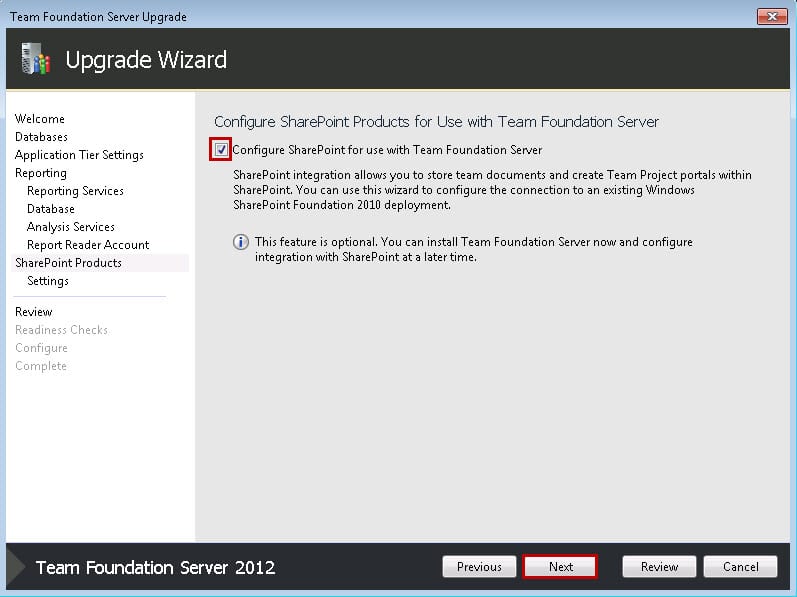
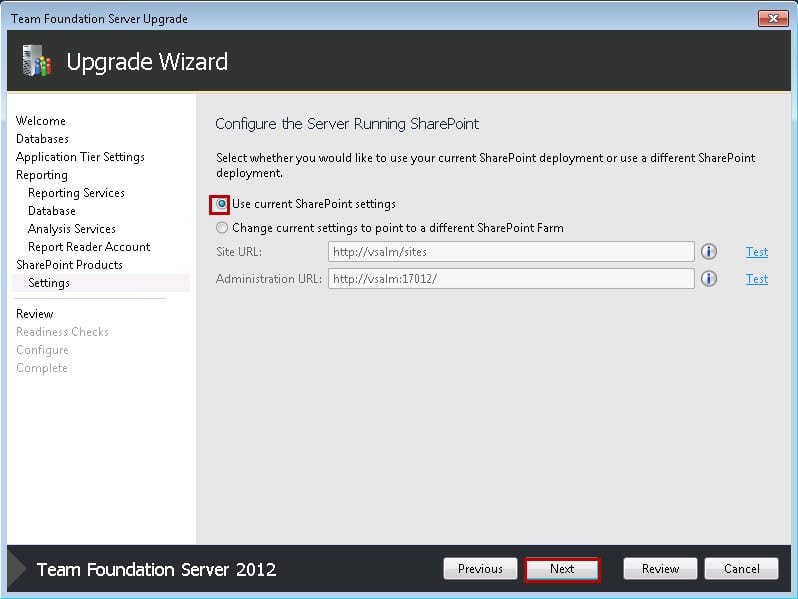
Click on Configure SharePoint for SharePoint with TFS and then click Next.
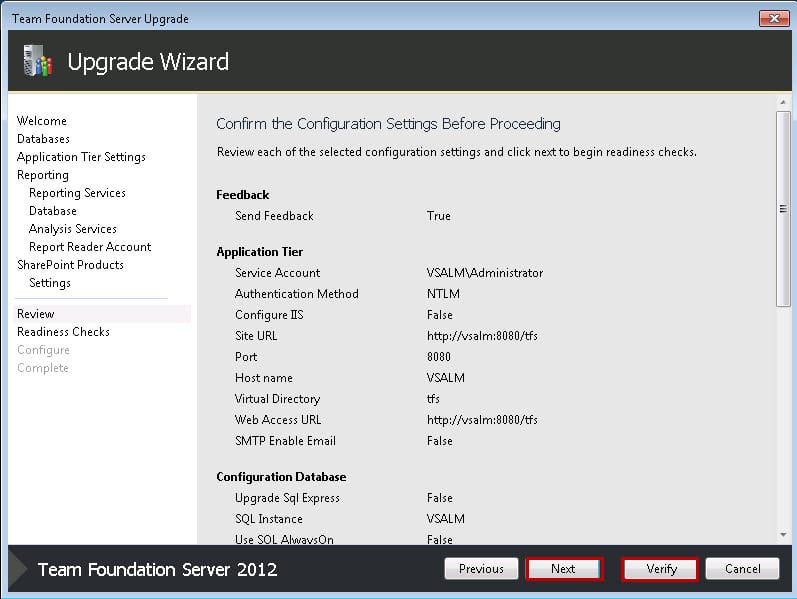
Verify the installation and then click Next.
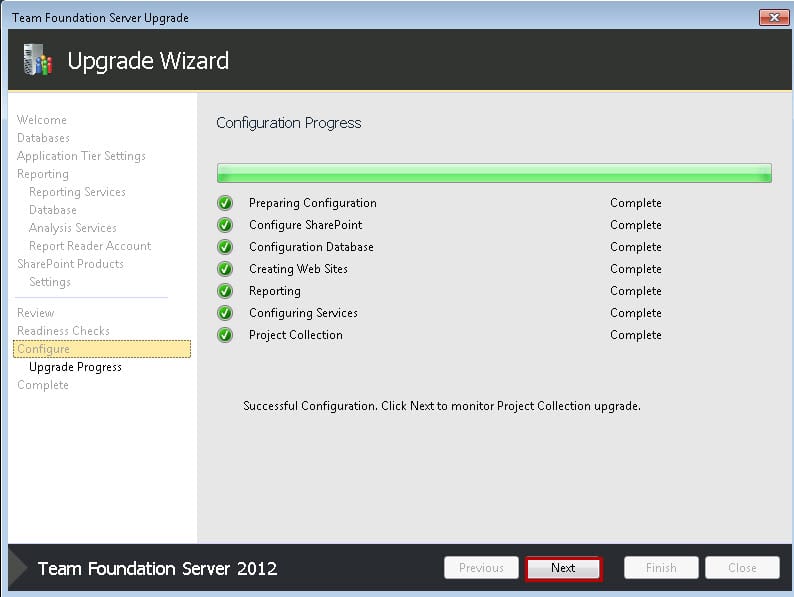
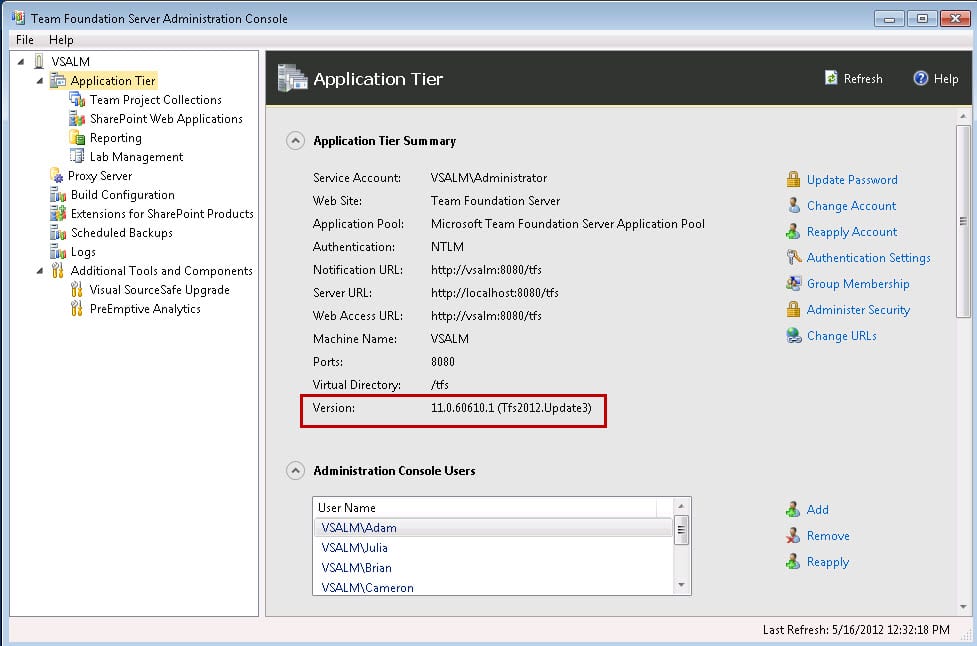
Review Application Tier in the TFS Admin Console to verify it has the new version.

