In this post, I will describe everything about the Storyboard Authoring Tool or as it is known now, Storyboard Shapes. Let’s see the agenda, and you can also watch the following step-by-step video for the whole post:
Agenda

In this post, I will try to answer the following questions:
- What is the Storyboard Authoring Tool?
- Why use the Storyboard Authoring Tool?
- How to use the Storyboard Authoring Tool?
- A demo on how to create Storyboards with and without the Storyboard Authoring Tool.

Storyboard Shapes Authoring Tool is a command-line tool that was released as a separate exe with the RC version of Visual Studio 2012. It was available at that time in the Visual Studio Gallery and later became part of the Microsoft Visual Studio Team Foundation Server 2012 Power Tools in the RTM of Visual Studio 2012.
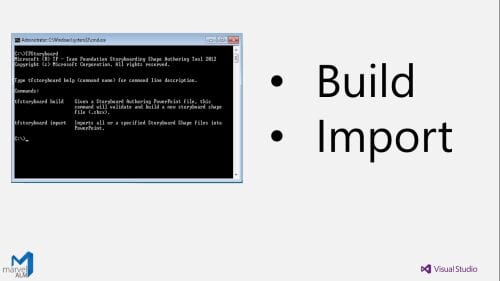
The main tasks of the Storyboard Authoring Tool are to Build Storyboard shapes and Import Storyboard shapes to the shapes gallery in the add-in.

So, let’s see why we need to use the Storyboard Authoring Tool and why we don’t use the Storyboard GUI.

We don’t use the GUI for authoring Storyboard shapes because we can’t edit our shapes gallery if we work on another one. I already opened a bug on Microsoft Connect about this issue. Nathalie, one of the TFS Product Team, told me that in the meantime, I can use the Storyboard Authoring Tool (Storyboard Shapes), and they closed the bug as deferred because they plan to address it in the future, so it’s on their backlog.
To use the Storyboard Authoring Tool to create shapes, we need to:
- Create a PowerPoint Presentation with specific steps and metadata in the notes.
- Run the Storyboard Authoring Tool command line, choose build, and provide the PowerPoint Presentation.
- Produce the .sbsx file that can be imported from the same tool or the GUI if needed.
To create shapes using the Storyboard Authoring Tool, we will:
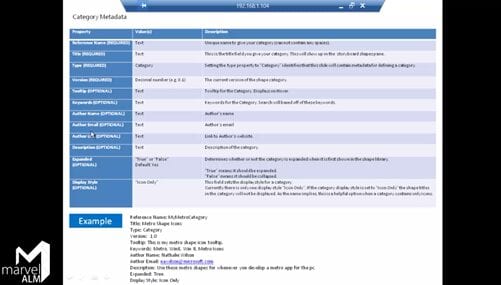
Create a PowerPoint presentation, leave the first slide empty, and add the following metadata in the notes:
1
2
3
4
5
  Reference Name: M.RadwanTools
  Title: M.Radwan Tools
  Type: Category
  Expanded: False
  Version: 1.0
![Metadata Example]()
Remember, the reference should not have any spaces, but it’s OK for the title. The type must be Category because this is the first slide. The Expanded property is a Boolean that represents whether we want the library to be expanded when we open the storyboard shapes or not.
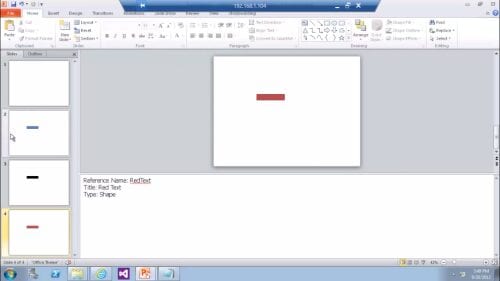
Create a slide for each shape and enter the following metadata with different values:
1
2
3
  Reference Name: BlueText
  Title: Blue Text
  Type: Shape
![Shape Metadata]()
We can also create a slide for each shape preview and set the type as Shape Thumbnail so it can be displayed in the shapes preview.
Run the Storyboard Authoring Tool command line and pass it the presentation to produce a .sbsx file.

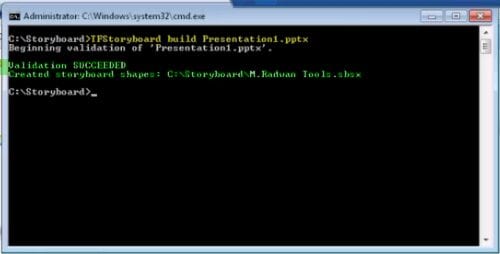
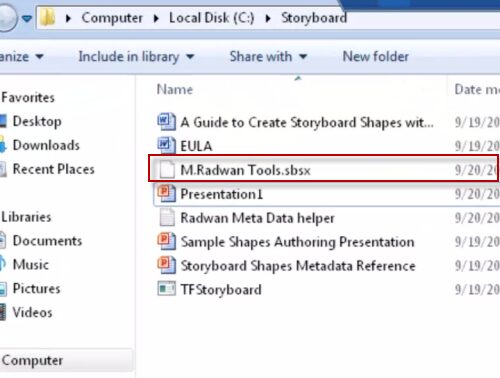
Now, you have the .sbsx file that you can import from the command line or the GUI:
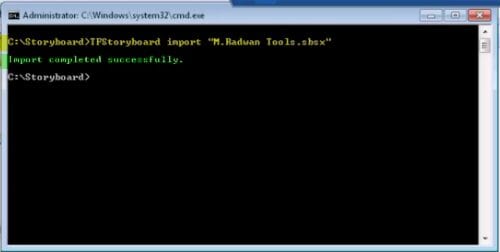
Command Line:
![Import via Command Line]()
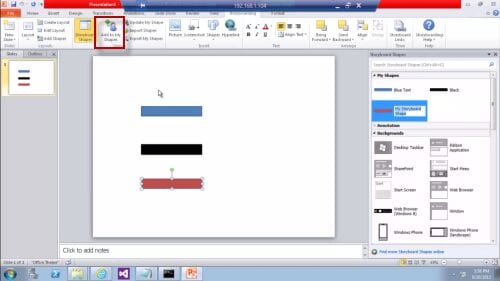
GUI:
![Import via GUI]()
A look at the metadata:
Thanks