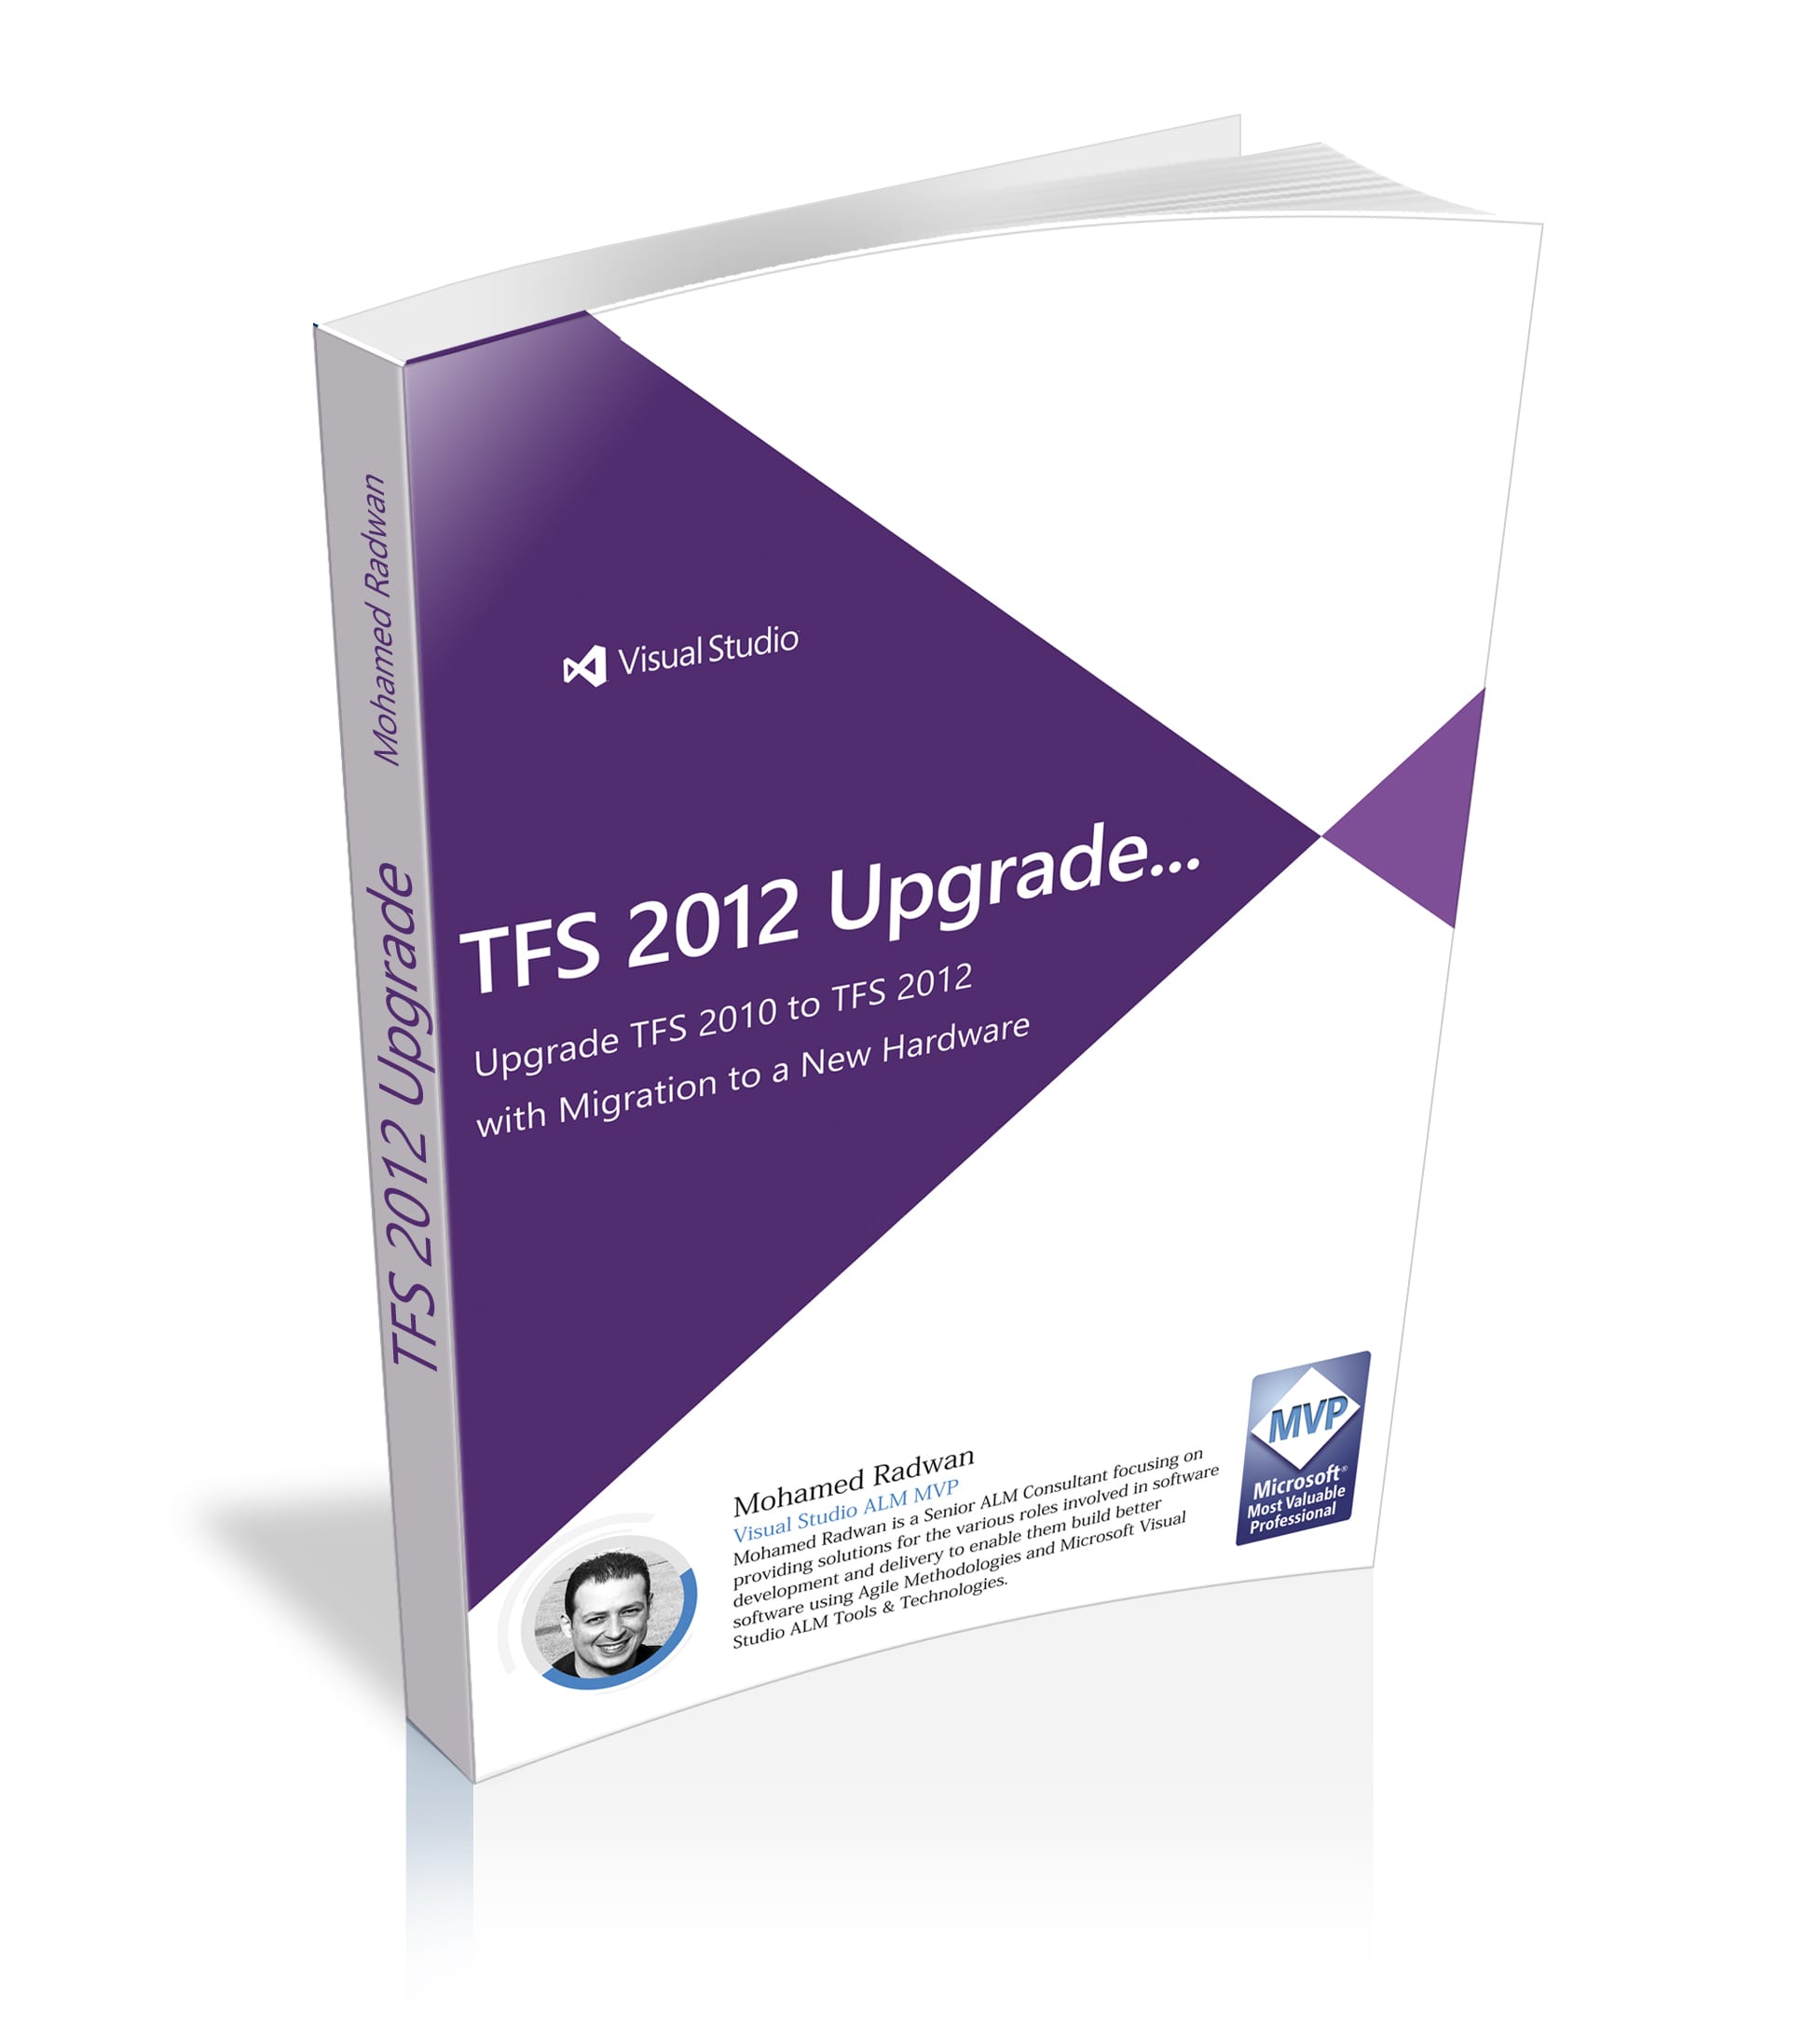
In this blog series, I start to explain a step-by-step tutorial on how to upgrade an existing TFS 2010 to TFS 2012 Update 1 with the migration to new hardware. The series will include videos and images as well. In the last post, I will include one video that collects all parts for a one-shot view. This series consists of the following parts:
- Part 1 - Introduction.
- Part 2 - Prepare SharePoint for the new system.
- Part 3 - Prepare the new machine and install SQL Server.
- Part 4 - Install TFS 2012 Update 1 & Backup DBs and Reporting Key.
- Part 5 - Restore DBs and Reporting Encryption Key.
- Part 6 - Configure TFS 2012.
- Part 7 - Verify upgrade success and other configuration.
- Part 8 - Upgrade TFS 2012 Build Service.
- Part 9 - Summary.
Each part consists of one or many sections as needed.
All the series was enhanced and featured as a Complete Guide for Upgrading TFS 2010 to TFS 2012 with Migration to a New Hardware.
https://upgradetfs2010totfs2012.codeplex.com/  {width=”332” height=”88”}
Part 7 - Verify upgrade success and other configuration
- Verify TFS Upgrade Success
- Verify SharePoint Integration
- Verify Reporting Integration
- Configure Additional Settings
The following is the video that explains this blog post:
Verify TFS Upgrade Success
Open the TFS 2012 Administration Console and check the status of the Application Tier, Reporting, and SharePoint Extensions to ensure they are running correctly.
Verify SharePoint Integration
Open the SharePoint Central Administration, navigate to the TFS integration settings, and verify that the TFS extensions are correctly configured and running.
Verify Reporting Integration
Open SQL Server Reporting Services, navigate to the TFS reports, and ensure that the reports are accessible and running correctly.
Configure Additional Settings
Configure any additional settings as needed, such as adjusting user permissions, setting up additional integrations, or configuring backups.
Review the success of all configurations.


